


Friday, October 19, 2012
Tuesday, August 21, 2012
Get ready, Get set, it's go time!
It's that time again... Back to School! I think it must get people in the mood for fall and you know what that means... Halloween will soon be here! I have been busy readying myself for the hectic costume season. Last year was my first year of sewing/selling costumes on Etsy and I kinda fell into it. A sweet costumer approached me with a special request for a boyish Owl Costume similar to the one Pottery Barn makes. I had so much fun creating the costume for her but after all the extra (read unpaid) time I put into the design I thought well maybe I could sell 'a couple' more! HAH! I was so much busier than I had ever imagined! I had a couple other costumers request different 'versions' of the owl and thus the BAT & Angry Bird Costumes were born! Looking back, from September 9th to October 14th, I sewed 60 costumes! I literally did not want to see my machine until after Christmas! This year I am going to pace myself more and not take as many orders. My kids a little bigger and take shorter naps so I won't have as much time to squeeze the sewing into my day.
The other day I was able to do a fun photo shoot with my good friend's little girl and her little friend and friend's sister. My vision was Woodland Tea Party- I know, it sounds amazing doesn't it! Here are some shots I got! {I have to live vicariously through my friend's with little girls}


The other day I was able to do a fun photo shoot with my good friend's little girl and her little friend and friend's sister. My vision was Woodland Tea Party- I know, it sounds amazing doesn't it! Here are some shots I got! {I have to live vicariously through my friend's with little girls}


I am going to be offering the purple and black tutu as an add on in my shop. Bat Costume can be found here.

and this brown ruffle dress too

I love this grey hooded owl! Do you see the grey ruffle diaper cover? This will also be offered as an add on.

The girls were such troopers. You'd never believe it was in the 90s the day we shot these!
A few weeks later, after a bad storm, one of our trees just tipped over. The roots were still in the ground! I told my husband to wait to cut it down (those who know him know how efficient he is ;-)) it was the perfect place to 'perch' my owl for some photos. Then a couple days later we had a beautiful overcast cool day and using some bribery I was able to dress my 4 year old in the Owl Costume and he did great modeling for me. I think he had fun climbing through the tree!


I love the little vest I made to go under the cape. You can't tell from the photos but it is slightly shimmery... in a very masculine way ;-) It also has specks of turquoise. I may offer this as an add on... but I don't have much of the fabric left and for the life of me I can't find more!
I hope you enjoyed this little preview of what I've been busy working on for my shop. As always I love feedback!
Thursday, May 3, 2012
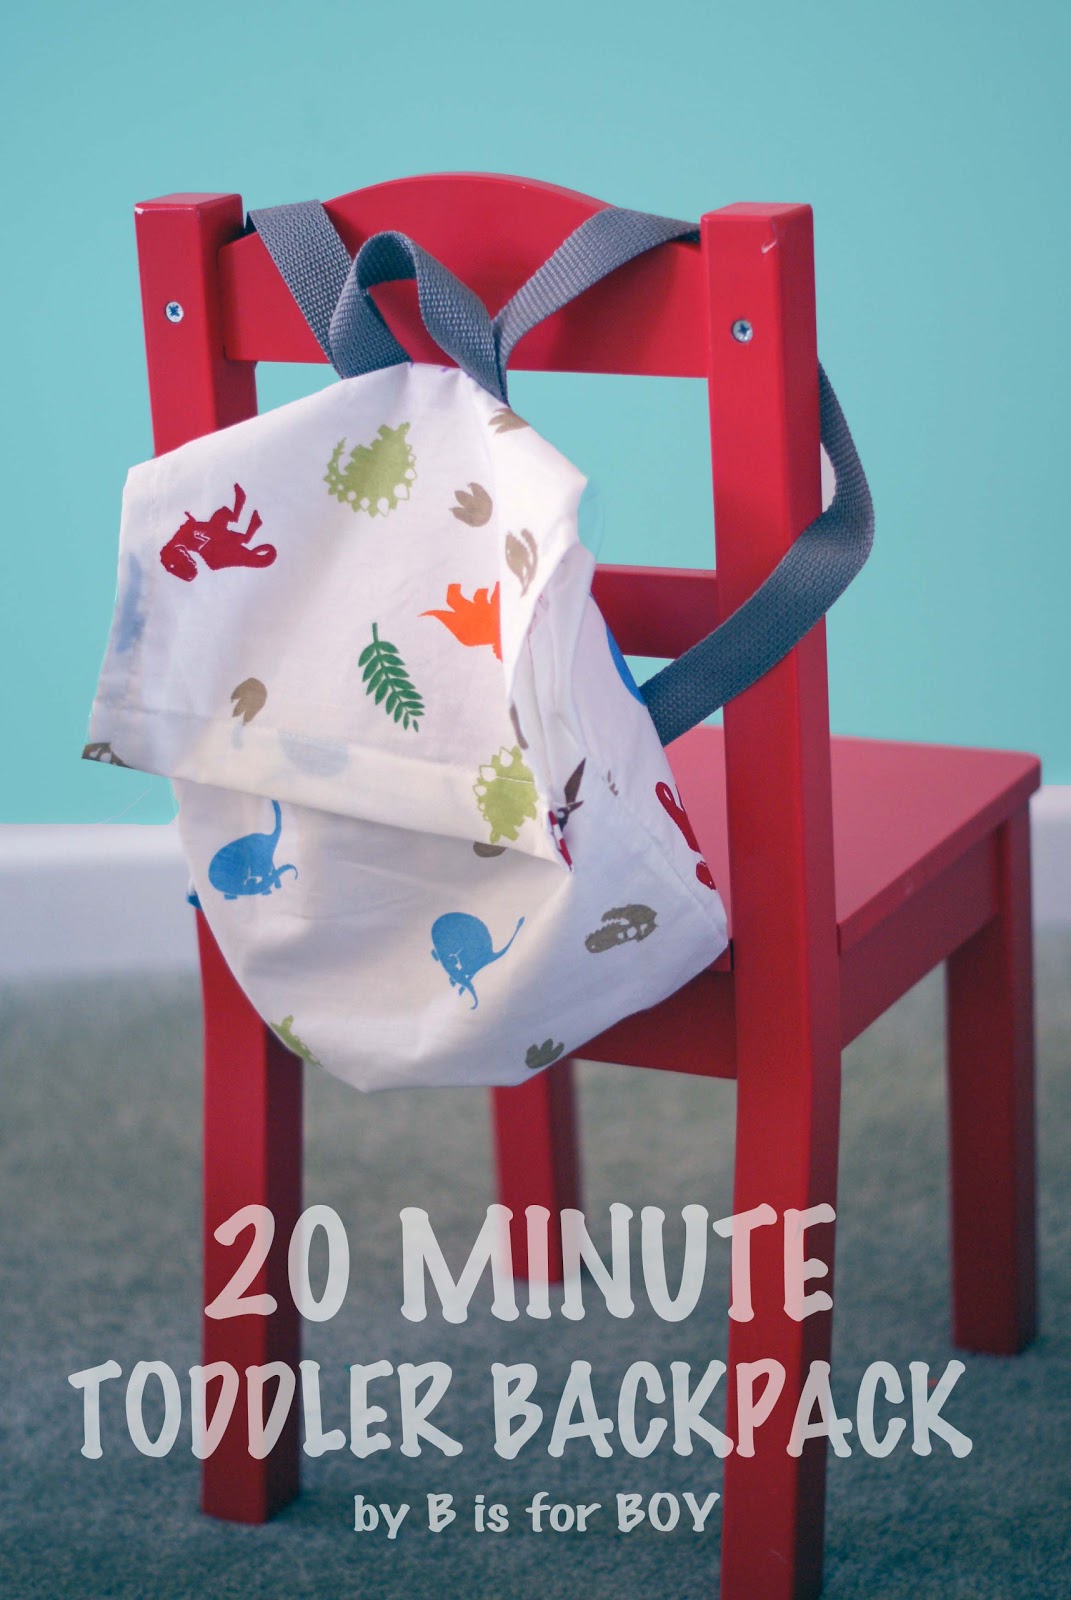
20 Minute Toddler Backpack
When this project came to me it was one of those 'duh! why hadn't I thought of this before!' moments. My preschooler needed an extra set of sheets. I bought a really cute set at Target (one of my favorite stores!). It matches all the colors in his quilt that I bought there a couple years ago!
This 20 Minute Toddler Backpack starts with the bag that the sheet set comes in. I've always hated throwing these out!
You will also need (2) 16" pieces of nylon webbing for the straps and a 6" piece for the loop at the top, and a 9" piece of 1/4" elastic.

Take the bag and using a disappearing ink pen mark a line across the bottom (between the 2 corners- there isn't a seam otherwise I'd use that) and then mark one inch in from the outer corner. This is where we'll place the straps

Then, again, mark a line across the top where the flap starts. Make a mark in the center then 2 marks, each a half inch out from the center. These will be where the tops of the straps end up. Next, cut Nylon Webbing {2 pieces 16" long and 1 piece 6" long). Use a lighter or match to melt the ends of the webbing so they don't fray. Hold the flame close but do not touch the end of the webbing or it will burn.
Pin the shorter piece under the longer straps making sure to line them up with the marks you made. They will end up being 1" apart.

Then pin the bottom of the straps inline with the marks at the bottom.

I used a heavy duty needle (after my 'universal' needle was bent trying to get through the layers of webbing) if you go slow you may be able to avoid buying the extra needles- I happen to have them already. The second picture shows how I stitched the straps on- doing the box with an X through it. Make sure to cut the tag off the side!

Last, grab your piece of elastic and thread it through the casing already made. Then secure each end in place with plenty of stitches- I went back and forth a few times.

Voila! In 20 minutes (maybe less) you will have the cutest little backpack ready to go.
Load it up with 'treasures' :

and stick it on a little one's back!


This backpack, when done for a girl, would be perfect for a dance outfit or tapshoes but in my house backpacks are referred to as 'rescue packs' yeah, we're into Diego right now!
Enjoy- and look you still have plenty of time left if your kids are napping to make a cup of something and relax!
It would make my day if you left a comment :)
Wednesday, May 2, 2012
Rainy days, new puppy, and busy life!
Hello there, I know I've been a stranger for the last couple months! There is no concrete reason, just that life got busy as my boys are getting older and busier! I have not stayed away for lack of ideas or sewing. I have actually been sewing a lot! But with 2 busy boys the only time I have is during their nap time which I spend sewing, cleaning, reading...anything but blogging! So I thought I'd pop on here to say 'I'm still alive' and life is good but I just dont know how much of my life I can commit to blogging. I am not done but I think you'll see a shift in what I'll be blogging about. Probably less of the long step by step sewing tutorials and more quick, simple projects mixed in with preschooler/ toddler stuff... Leaving it vague since it will be whatever tickles my fancy! Before I post any new stuff I do have some maintain acne issues with my blog like all the spam comments I get and a few documents that haven't been accessible due to changes in the hosting sight.
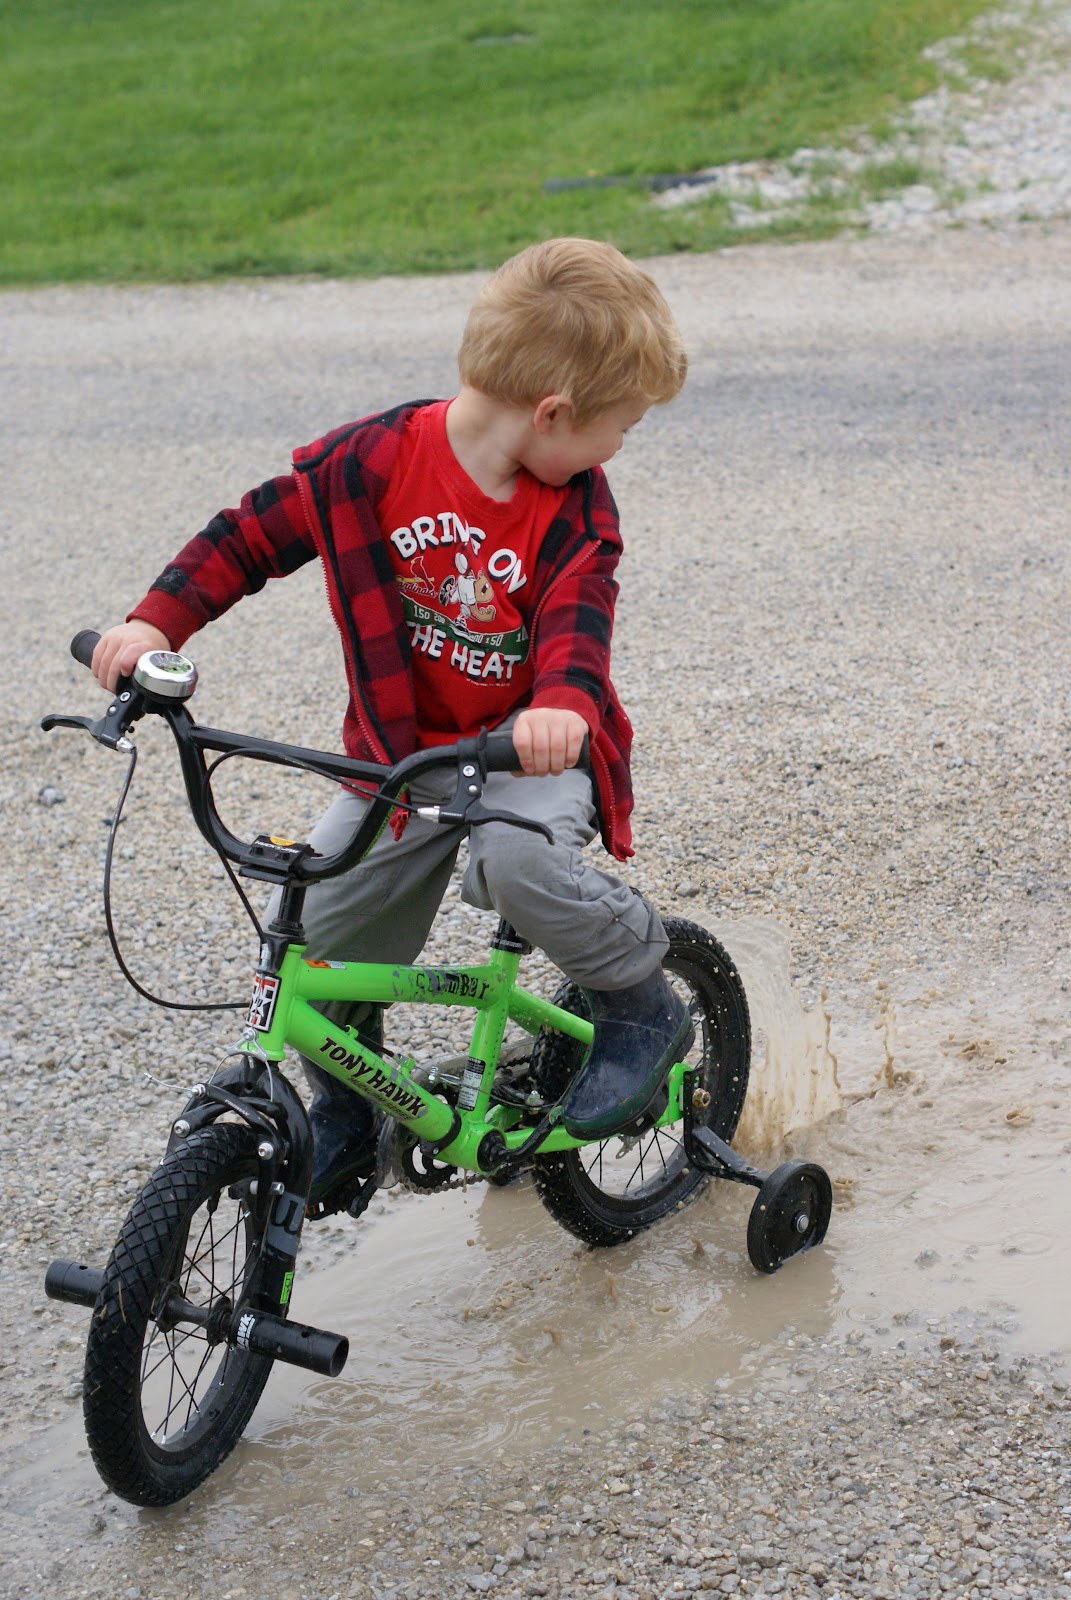
I'll leave you with some photos of the boys playing in some puddles left by a couple days worth of storm that we had earlier this week.

Oh, and here is the newest addition to our family.

believe it or not, she is still a "puppy"! We got her back in January and she has gotten SO big! Her energy matches the boys' so she's a great addition (overlooking the chewing!).

Here she is on my husband's lap the day we got her!
I'd love to hear how you entertain kids on a rainy day- please leave a comment :)
Wednesday, December 21, 2011
Christmas Jammies for the Boys

I have wanted to make Christmas jammies for my boys since last year. I don't know how but I came across a link to Melly Sews and she had posted about how to use her blazer pattern and make it into pjs... I was in! I had bookmarked the free pattern over at Sewing in No Man's Land but it is only in one size and my brain is pretty fried right now... I didn't want to deal with trying to resize. I purchased the pattern right away and within hours was making jammies #1 for my 3 year old. (I had purchased fabric already....I told you this was on my to do list for a while!)
Ok, I don't know how many of you are like me- the first attempt at a pattern or project is always slewn with mistakes! First of all I probably should have gone a size smaller because my kid is a string bean... but tall so I made him a size 4... it kinda hangs off him. Oh well! The major mistake that really bugs me is that I cut the pants wrong! The pattern is going the opposite direction as the top. More importantly than the look is that the stretch is wrong! Luckily I made them big enough that they still work!
I often have to tell myself to
LET GO OF PERFECTION!

All this boy has asked for from Santa is a "long, long choo choo train"!
I'm not sure what he calls the gazillion of tracks and trains on his train table!
He got this really nice wooden train on Saturday at a family Christmas party...see the little wooden logs! He calls them Jobi wood (all of you that are familiar with Thomas the Train will know what that is!)

...and the train is off!

This train was handmade locally and my mother in law found out about him and hunted him down to get this train! I've seen similar ones on Etsy.

I added the ric-rac at the bottom and am torn whether it looks 'gingerbread boy-ish' or just plain girly!
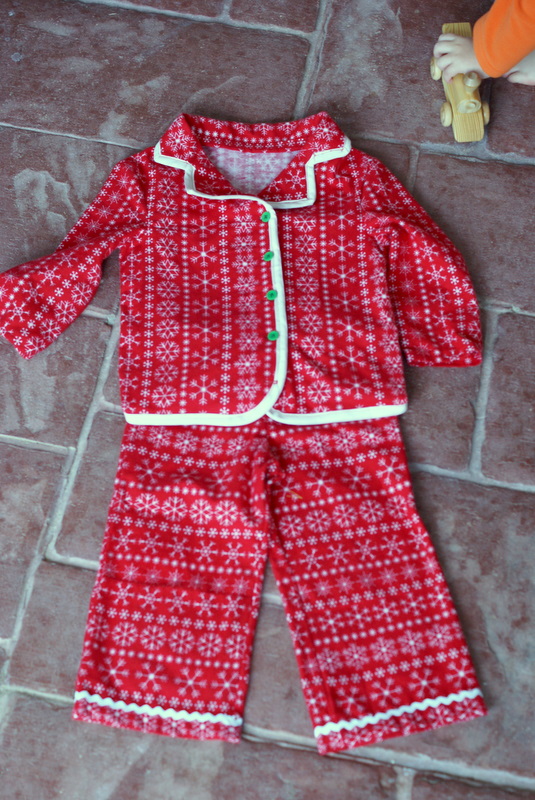
Ok, so the 2nd pair for my husky 17 month old turned out pretty well! Remembering how big the first pair was I did slim down the pattern a bit (not too much since he is still a little husky).


I decided not to do the trim and just the ric-rac along the collar and really like it!

I added a cuff at the bottom with some more ric-rac. I had about 2" left otherwise I would have liked to put it around the wrists.

He is following in his brother's footsteps and also loves his choo choos!

I just want to squeeze those cheeks!

Even though 99% of the time they are both annoying each other, deep down I know they love each other!
I just finished their major gift yesterday and will try to take some pictures during naptime today to put up here! It turned out amazing!
Tuesday, December 6, 2011
Haul out the Holly Tutorial {Santa Pennant Garland}

Hello there & welcome if you're visiting from Gwenny Penny!
I was so honored when Gwen asked me to participate in Haul out the Holly this year!
It honestly didn't take me very long to come up with this idea. I was preparing for my first craft fair around the time she asked me to participate and I had pennants on my mind.... thus:
Santa Pennant Garland!

Let's get started!
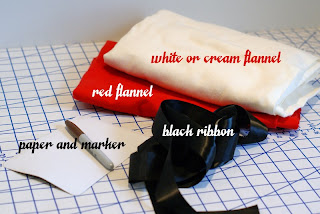 Materials:
1/4 yd red flannel
1/4 yd white or cream flannel
desired length of 1" black satin ribbon (3-4 yds)
coordinating thread
spring loaded scissors (not required but recommended)
cardstock and marker
Let's make our triangle pattern:


Let's get started!

1/4 yd red flannel
1/4 yd white or cream flannel
desired length of 1" black satin ribbon (3-4 yds)
coordinating thread
spring loaded scissors (not required but recommended)
cardstock and marker
Let's make our triangle pattern:

1. draw a 5" line which will be the top of the triangle
2. draw a 5" line perpendicular to the first line (creating a T)
3. connect the lines to form your triangle
Cut out your pattern and grab your rotary cutter and we'll cut out our fabric.

I folded my fabric and cut 4 layers at a time. You need 2 triangles of each color for each finished pennant. The number depends on how long you are making your garland.

Now lets layer our pennants.

Bottom layer- red
2 middle layers- white
Top layer- red

Pin your layers together. You should have a stack ready to head to your machine.

Sew along the 2 sides using a 3/4" seam allowance (mine fluctuated between 1/2"-3/4" but in the end you won't notice if they aren't perfect).
Grab those spring loaded scissors (great if you do rag quilting... which is why I bought them... still haven't made a rag quilt yet though! haha)

Start snipping 1/4" segments along both sides of each triangle. Leave the top uncut & do not cross the line you sewed.

I went ahead and sprayed it down with water and threw it in the dryer to shrink it.
Now we'll add the ribbon along the top. Leave a tail of 6" before your first triangle. I just folded the ribbon over the top of the triangle and pinned it in place. I did not leave any space between each triangle.

I started sewing at the first triangle making sure to backstitch (at the end too) so it wouldn't come unraveled.

Now I threw it in the washing machine to really get it to fluff up. You might want to do this a couple times... the more the merrier!

Isn't it lovely on my banister?

I thought I'd try it on our large front window... tried taking a picture of the whole window but the light outside was playing tricks on my camera!
Oh, and you might be wondering where the bow came from. When I went to unwind my ribbon off the spool it was in 2 pieces so this is how I remedied it... I really like the bow!
Thanks Gwen for allowing me to participate in your 2nd annual Haul Out the Holly series!
Subscribe to:
Posts (Atom)